|
|
 Author Author |
 Marcos project? (currently 7,034 views) Marcos project? (currently 7,034 views) |
| admin |
Posted on: May 27th, 2008, 19:33:09
 Attachment: hatch2.jpeg - 33.17 KB (3026 views) Attachment: hatch2.jpeg - 33.17 KB (3026 views) |
  |
|
 Administrator Administrator


Location: Maidenhead, UK
Posts: 2,377
Reputation: 1 (tot: 1) |
|
| Mk. IV hatch hinges |
 |
|
|
|
  |
Reply: 15 - 32 |
|
 |
| Joost van Dien |
| Posted on: May 27th, 2008, 19:59:19 |
|
|
Big Member


Drive it as much as possible!
Location: Kloosterzande, The Netherlands
Posts: 293
Reputation: 0 (tot: ) |
|
Hello the photos as promised!
From the inside.
From the outside now you can see what I meant with the peace of glassfiber.
The rear hatch is in and fits perfectly in it beacause its cut out 
Cheers, hope it explains my story |
|
|
|
 |
Reply: 16 - 32 |
|
|
| Tertius van Zyl |
| Posted on: May 28th, 2008, 07:14:28 |
|
|
Big Member
Location: Johannesburg South Africa
Posts: 289
Reputation: -1 (tot: -1) |
|
Thanks for the info and pics guys - much appreciated. Would appear that there is quite a substantial "turnover" on the edge of the opening section and therefore the "gulley" around the body opening must be correspondingly deep. Anybody able to make a cardboard template of that gulley section and send a pic with rough dims.?
Are the Mk1 door hinges or the boot hinges preferable?
On the opening section, are the dimensions from the window opening to the edge of the fibreglass hatch equidistant all the way around the glass? Approx what is that measurement?
Can't quite see the point of the "drain hole". Surely the water would run down the body gulley and out of the handgrip recess at the bottom? Why the necessity for a drain hole...and were does that water go to? |
|
|
|
| |
Reply: 17 - 32 |
|
|
| Neil KilBane |
| Posted on: May 28th, 2008, 08:02:39 |
|
|
Maximum Member2


just a little fine tuning left to do.
Location: Newtown Forbes, Ireland
Posts: 1,416
Reputation: 0 (tot: ) |
|
| Water does indeed gather in the hand recess of the back panel, you can get the Drain Hole Kit from the club spares list and it consists of a metal furrel and some tubing that goes from the rear panel to the floor at the side, similar to the vent hose on standard Mini petrol tanks. |
|
|
|
|
| |
Reply: 18 - 32 |
|
|
| Neil KilBane |
| Posted on: May 28th, 2008, 08:36:16 |
|
|
Maximum Member2
just a little fine tuning left to do.
Location: Newtown Forbes, Ireland
Posts: 1,416
Reputation: 0 (tot: ) |
|
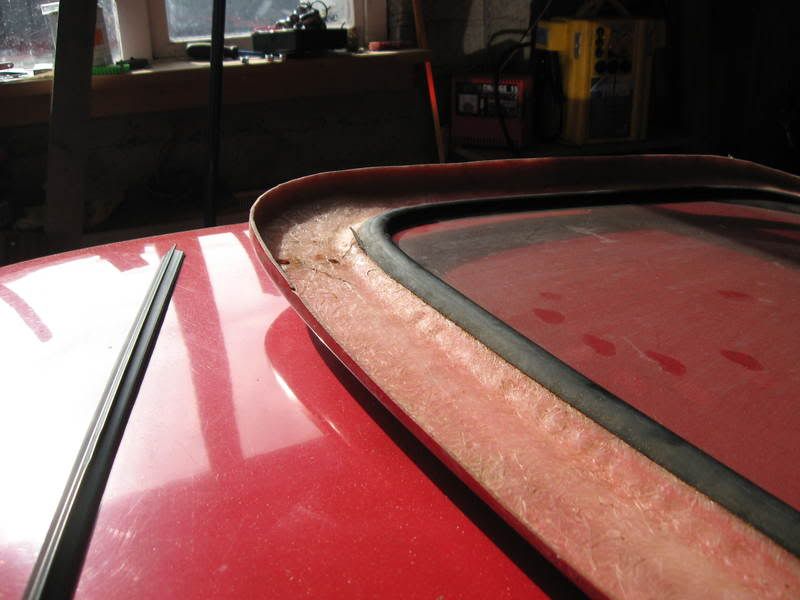
| The part that surrounds the rear screen is 90mm wide, but I think the rear screen for the MkIV is smaller than that of the MkIII, Richard might know for sure. The channel in the body section is not uniform the whole way around, it is wider and deeper at the top corners and top edge. |
|
|
|
|
| |
Reply: 19 - 32 |
|
|
| admin |
| Posted on: May 28th, 2008, 14:50:14 |
|
|
Administrator
Location: Maidenhead, UK
Posts: 2,377
Reputation: 1 (tot: 1) |
|
I think the Mk.1 hinges are better because the studs are in line. The boot hinge has the bolts on one side at right angles which doesn't provide as much strength if you lean the hatch too far back.
As far as I know the glass size is exactly the same on all models. Our heated rear windows fit cars with fixed windows and opening hatches.
A good trick for making the channel is to slit a bit of hosepipe, attach it to the edge of the fibreglass and then laminate fibreglass onto the bottom half. You need to make the channel a bit bigger at the top to catch the water that runs back down the glass when you open the hatch. |
|
|
|
| |
Reply: 20 - 32 |
|
|
| Tertius van Zyl |
| Posted on: May 29th, 2008, 06:57:00 |
|
|
Big Member
Location: Johannesburg South Africa
Posts: 289
Reputation: -1 (tot: -1) |
|
As always, thanks guys for the mine of information. Appreciated. One last question...is the hatch, when cut out of the body at 90mm wider than the glass, strengthened in any way (apart from making a "turnover edge" of fibreglass to it)?
Clever idea Richard re the hosepipe...but not quite sure how one would attach a split hose to the edge of the bodyshell opening? |
|
|
|
| |
Reply: 21 - 32 |
|
|
| Neil KilBane |
| Posted on: May 29th, 2008, 08:05:26 |
|
|
Maximum Member2
just a little fine tuning left to do.
Location: Newtown Forbes, Ireland
Posts: 1,416
Reputation: 0 (tot: ) |
|
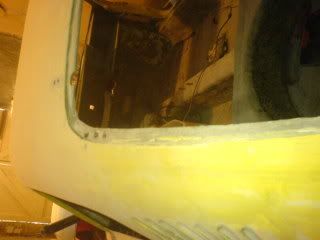
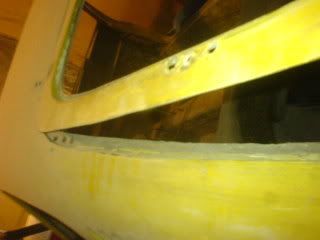
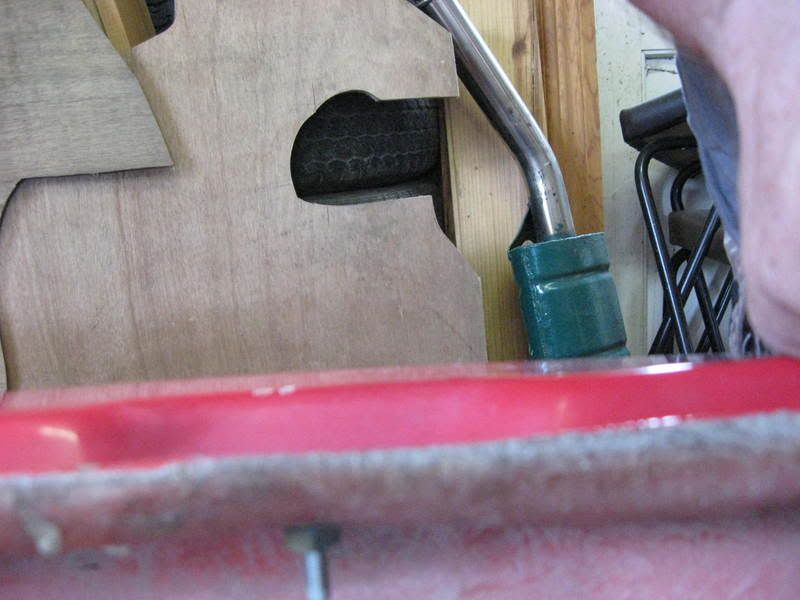
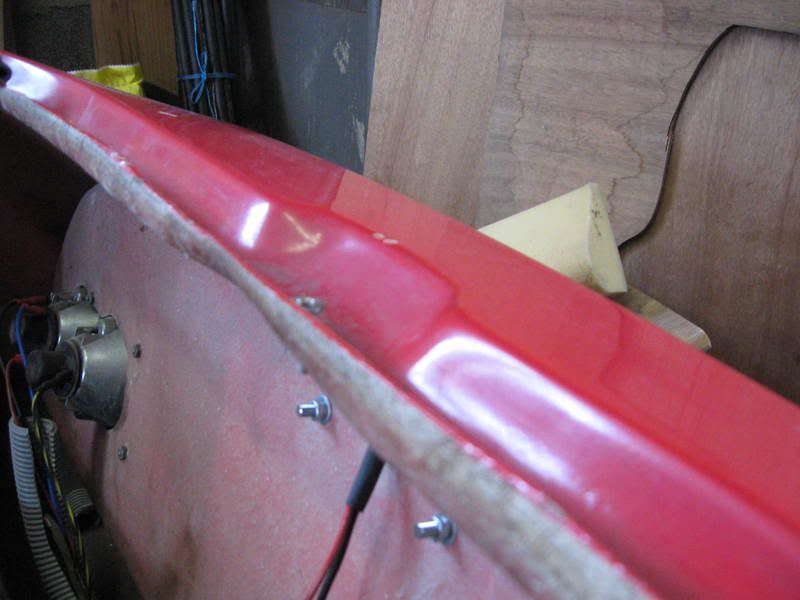
Here is what the hatch looks like from the back,

Hope this gives you a better idea.
If you want anything else pictured, just ask.
Neil |
|
|
|
|
| |
Reply: 22 - 32 |
|
|
| Tertius van Zyl |
| Posted on: May 29th, 2008, 14:54:19 |
|
|
Big Member
Location: Johannesburg South Africa
Posts: 289
Reputation: -1 (tot: -1) |
|
Thanks Neil, brilliant pics. Looks as though it makes more sense just to make up a mould for a new hatch based on the piece that is cut out so that the flange can be included from the start rather than the fiddly job of trying to add a flange to the cut out section.
How does the lock that Richard showed in his pics, engage? Does it simply swivel around from a 6 o' clock position when closing the hatch, to a 9 or 3 o' clock position when turning the key. What does it bear against when it is in the locked position - simply hooks under the body hatch channel?? A pic would be good. |
|
|
|
| |
Reply: 23 - 32 |
|
|
| Tertius van Zyl |
| Posted on: May 29th, 2008, 14:58:48 |
|
|
Big Member
Location: Johannesburg South Africa
Posts: 289
Reputation: -1 (tot: -1) |
|
| Mike, what method are you using to make up the channel in the body for the hatch? Richard's hose pipe idea?? |
|
|
|
| |
Reply: 24 - 32 |
|
|
| Neil KilBane |
| Posted on: May 29th, 2008, 22:46:00 |
|
|
Maximum Member2
just a little fine tuning left to do.
Location: Newtown Forbes, Ireland
Posts: 1,416
Reputation: 0 (tot: ) |
|
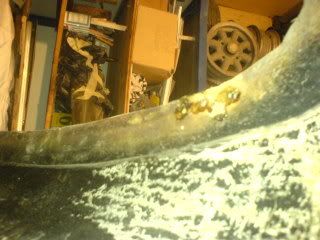
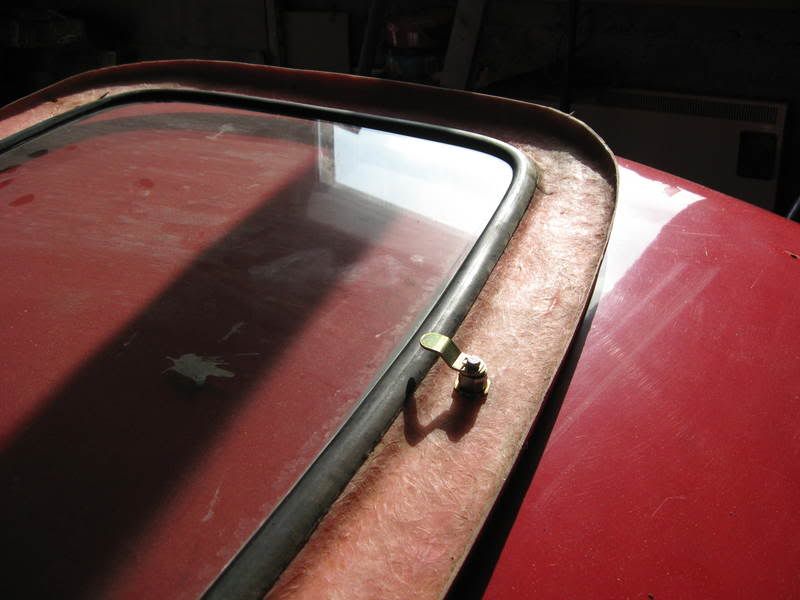
Here is the locking panel,
From above,
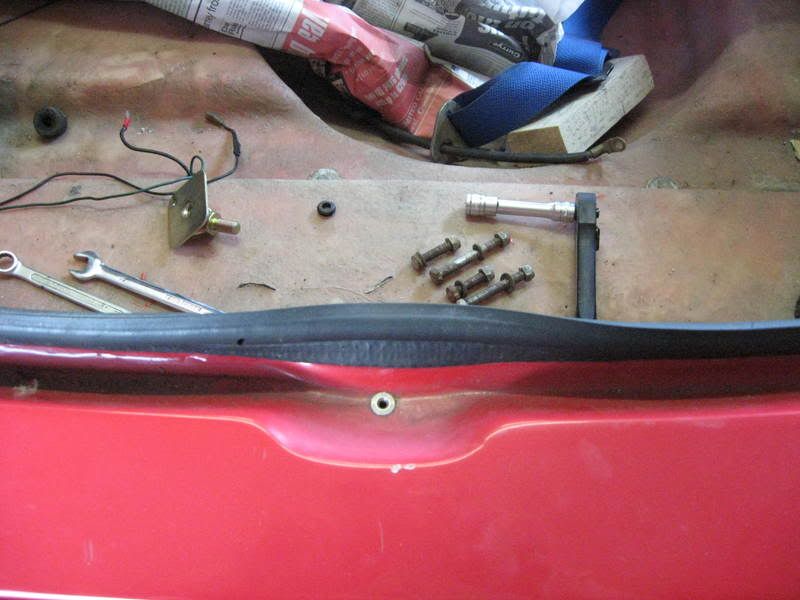
Looking rearwards
and oblique view
 |
|
|
|
|
| |
Reply: 25 - 32 |
|
|
| Tertius van Zyl |
| Posted on: May 30th, 2008, 05:27:56 |
|
|
Big Member
Location: Johannesburg South Africa
Posts: 289
Reputation: -1 (tot: -1) |
|
| Thanks Neil. Just to clarify..the hatch lock engages on a the metal peg in the body shell. Correct? |
|
|
|
| |
Reply: 26 - 32 |
|
|
| Neil KilBane |
| Posted on: May 30th, 2008, 07:49:30 |
|
|
Maximum Member2
just a little fine tuning left to do.
Location: Newtown Forbes, Ireland
Posts: 1,416
Reputation: 0 (tot: ) |
|
For once you are wrong Tertius,  
The metal peg is the drain plug that was mentioned earlier, I haven't attached the drain hose to it yet.
The lock simply catches on the fiberglass, it might be a better idea to bond a strip of brass to the hatch at that point to aid the locking, but the lock to fiberglass hasn't caused any problems yet, as far as I know. |
|
|
|
|
| |
Reply: 27 - 32 |
|
|
| Tertius van Zyl |
| Posted on: May 30th, 2008, 09:42:59 |
|
|
Big Member
Location: Johannesburg South Africa
Posts: 289
Reputation: -1 (tot: -1) |
|
|
|
|
| |
Reply: 28 - 32 |
|
|
| Tertius van Zyl |
| Posted on: June 3rd, 2008, 18:28:38 |
|
|
Big Member
Location: Johannesburg South Africa
Posts: 289
Reputation: -1 (tot: -1) |
|
| Neil, is the rubber seal on the body similar to (or is it) a standard Mini door seal? |
|
|
|
| |
Reply: 29 - 32 |
|
|
|


 Mini Marcos Forum > General Boards > Mini Marcos > Marcos project?


 Logged