 |
Pages: « ... 10, 11, 12, 13, 14, 15, 16, 17, 18, 19, 20, 21, 22, 23, 24, 25, 26, 27, 28, 29, 30 ... » : All |
   |
|
 Author Author |
 Right - join Part A to Part B etc, etc, etc (currently 14,507 views) Right - join Part A to Part B etc, etc, etc (currently 14,507 views) |
| Brian |
| Posted on: October 15th, 2013, 09:36:23 |
  |
|
Big Member

Location: San Mateo, CA, USA
Posts: 330
Reputation: 0 (tot: ) |
|
“ |
Quoted from admin, posted October 14th, 2013, 22:26:40 at here |
” |
(ahem) I have used a bolt through the bulkhead crossmember to connect the earth cable from the battery (on the inside) to a strap to the engine. Actually it's a contact from a broken solenoid and I think it's copper plated steel. This has the advantage that I can earth the instruments, heater, etc on the inside.
|
|
The copper bolts are fine, and designed for that. But the standard ones you find on the garage floor aren't as good. A copper lug is a good idea for getting earth from engine bay to dash, I'll probably use that method.
With our Corvair, we had some issues with wiring before we ran a ground strap to the body shell, even though the motor is bolted directly to the chasss (sizeable bolts through a piece of rubber, and into the car's body. Perhaps we had some rust insulation going on, though  . .
I also probably get a bit over-engineery on some of that stuff -- my dad's an electrician, and a flatmate is a manager at a battery distributor, and we all work together on the cars... |
|
|
|
 |
Reply: 285 - 599 |
|
 |
| Brian |
| Posted on: October 17th, 2013, 05:29:16 |
|
|
Big Member
Location: San Mateo, CA, USA
Posts: 330
Reputation: 0 (tot: ) |
|
There was some talk a few weeks back about heated screens. I had been under the impression (without seeing one in person) that the heating elements were split in a right and left circuit. I just was re-reading the Summer club magazine, and realized where I got that impression. There's an article in there about the Midas screens having two sides, I must have assumed that they were all the same (since a page or so later, it talks about the Mini Marcos screens, too).
So much for reading comprehension! |
|
|
|
| |
Reply: 286 - 599 |
|
|
| Brian |
| Posted on: October 18th, 2013, 10:11:14 |
|
|
Big Member
Location: San Mateo, CA, USA
Posts: 330
Reputation: 0 (tot: ) |
|
“ |
Quoted from admin, posted October 14th, 2013, 22:26:40 at here |
” |
The fuel gauge sender usually has an earth tag on it, and this is the best way to earth the tank and sender.
|
|
My tank sender (AAU8340MS from minispares) just has the one connection from the gauge to it. And since it's isolated from the tank by the cork, I guess the electrical connection is through the screws into the tank...
I may just solder a ground wire onto the sender unit, since I didn't get the fancy copper washers and the screws that they suggest. |
|
|
|
| |
Reply: 287 - 599 |
|
|
| Simon Robinson |
| Posted on: October 18th, 2013, 13:26:03 |
|
|
Big Member

Location: Northampton
Posts: 338
|
|
| My tank sender is the same, Brian - use any one of the mounting screws to earth it. Make sure it's a good connection though, mine was constantly reading about 1/4 tank lower than it should until I ran a new earth connection... |
D&H Mk IV 8313, KGV 215V (aka George) - 75,000 miles and counting since restoration in 2011. |
|
|
|
| |
Reply: 288 - 599 |
|
|
| Graham Bichard |
| Posted on: October 20th, 2013, 09:17:53 |
|
|
Maximum Member2


Posts: 751
|
|
“ |
Quoted from Brian, posted October 17th, 2013, 05:29:16 at here |
” |
There was some talk a few weeks back about heated screens.
|
|
I was thinking about this during my long drive to work.
Where is the feed for the rear screen taken from? I realise the element wires are thicker for the rear screen, but could the same source not be used?
Also does the rear screen normally have two 'tangs' for the wires to connect to? My rear doesn't seem to have any connections at all!
|
|
|
|
| |
Reply: 289 - 599 |
|
|
| admin |
| Posted on: October 20th, 2013, 11:28:28 |
|
|
 Administrator Administrator


Location: Maidenhead, UK
Posts: 2,380
Reputation: 1 (tot: 1) |
|
The heated rear window has two terminals. I run the wires up to the hinges on the inside of the rear hatch then loop under the hinges with two snap connectors so that the hatch can easily be removed. Polarity is not important. One wire goes to the battery negative terminal (the battery is at the rear) and the other goes via a relay to the fuse box. The primary circuit of the relay is fed from the switched ignition circuit (green) via a switch. If you don't use a relay the switch contacts are likely to get burnt out fairly quickly.
I did think about using the hinges to carry the positive and negative feeds but discounted it for a variety of reasons.
Obviously if you have a fixed rear window then te wires can go straight down. |
|
|
|
 |
Reply: 290 - 599 |
|
|
| Graham Bichard |
| Posted on: October 21st, 2013, 14:15:33 |
|
|
Maximum Member2
Posts: 751
|
|
I thought there should be two terminals. I'll have to have a closer look to see if there's any evidence that they've been snapped off.
I'm a long way off needing a working rear screen though  |
|
|
|
| |
Reply: 291 - 599 |
|
|
| Graham Bichard |
| Posted on: March 23rd, 2014, 15:40:36 |
|
|
Maximum Member2
Posts: 751
|
|
Just spent all weekend changing the head gasket on the mini, after losing power this last week. I needed to do it - it's used daily, but I couldn't help thinking that it would've been two days better spent in the garage, on the MM!
After five months inactivity I did decide to do something towards that car when I'd tidied up after finishing the mini - I now have a 5 switch panel:
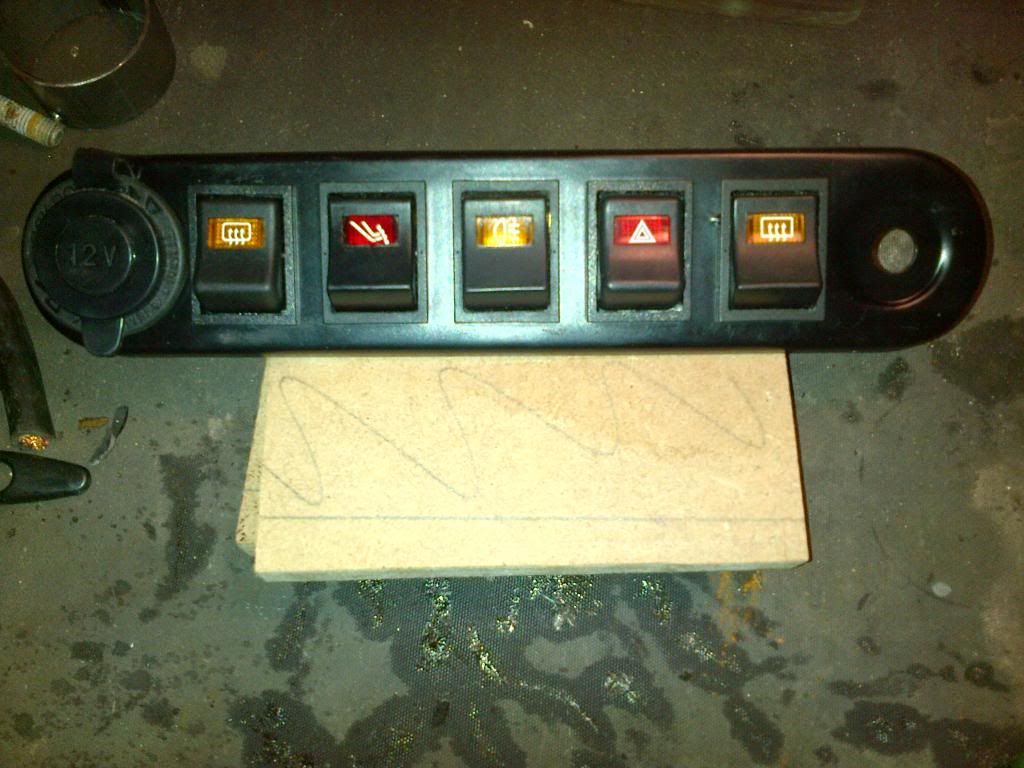
Unfortunately I managed to put a few scratches on it when opening up the hole to accept the power socket, so it'll need painting.
Oh well, small steps |
|
|
|
| |
Reply: 292 - 599 |
|
|
| Graham Bichard |
| Posted on: March 29th, 2014, 14:50:06 |
|
|
Maximum Member2
Posts: 751
|
|
Had some wrinkle paint left, which I thought might look okay (retro!) against the fake carbon fibre dashboard:

So now I have an extra heated screen switch, ready for the front screen (one day!):
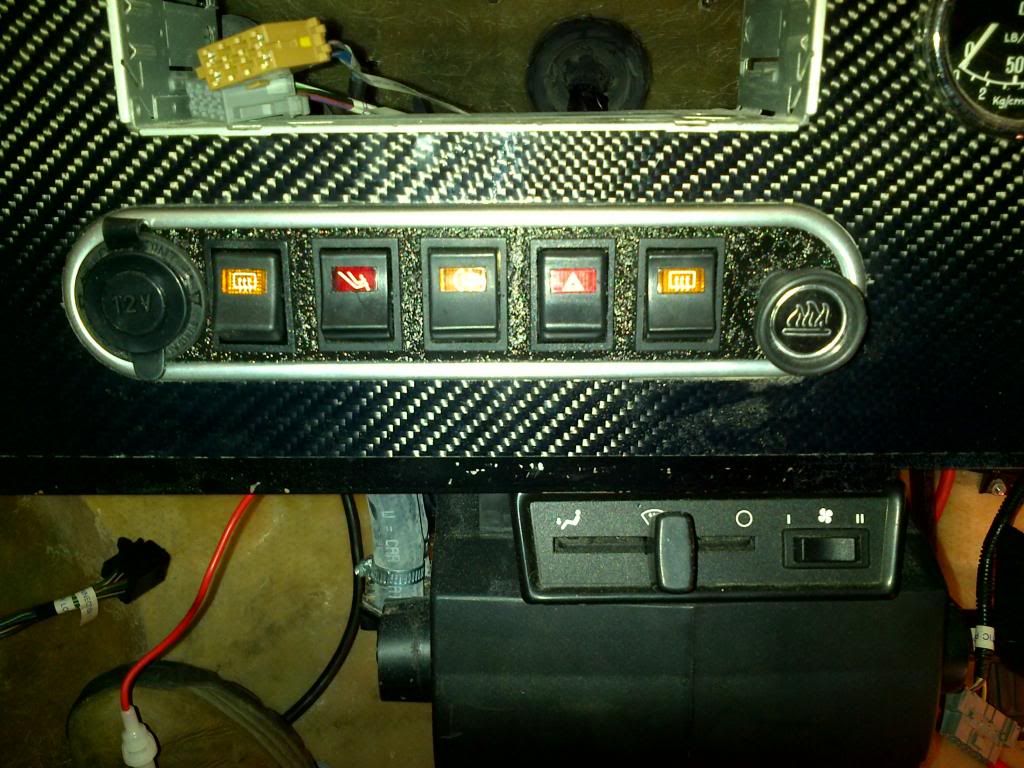
I think I'm back where I started from |
|
|
|
| |
Reply: 293 - 599 |
|
|
| Graham Bichard |
| Posted on: April 6th, 2014, 16:04:33 |
|
|
Maximum Member2
Posts: 751
|
|
Hmm - electrics, eh!
Did I think it would be as simple as connecting up the wires and Bob's your uncle?
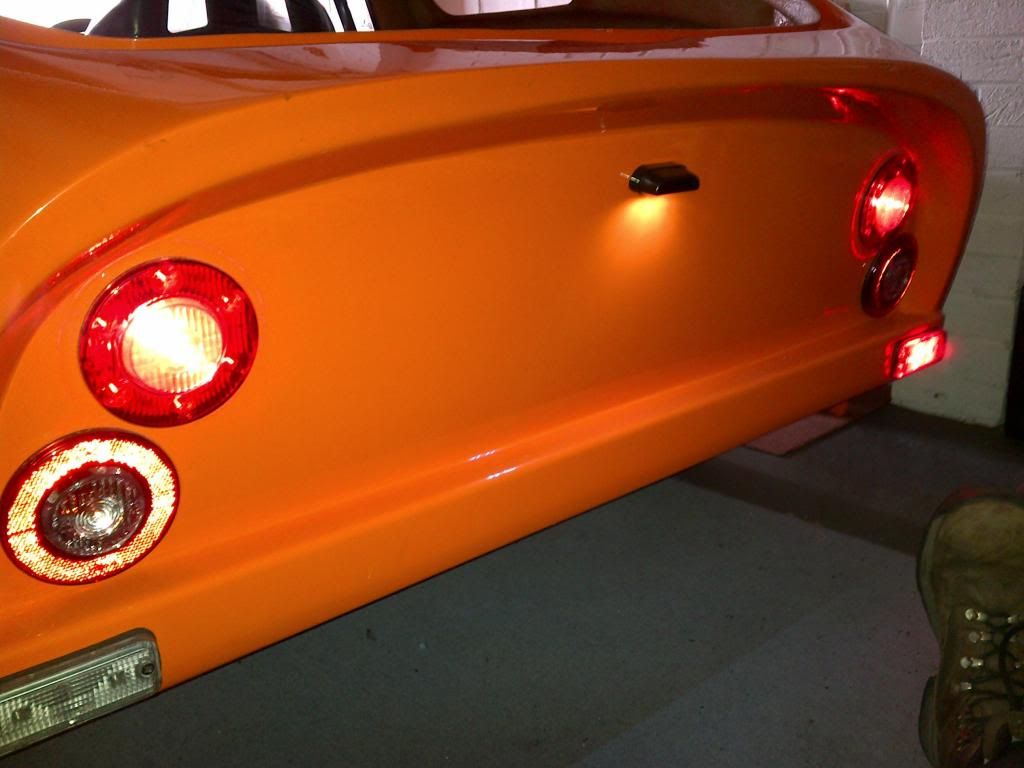
I've connected up the battery to the +/-'s, and put my battery charger on to prevent the battery being drained and started checking what works.
Test one:
Side lights on:
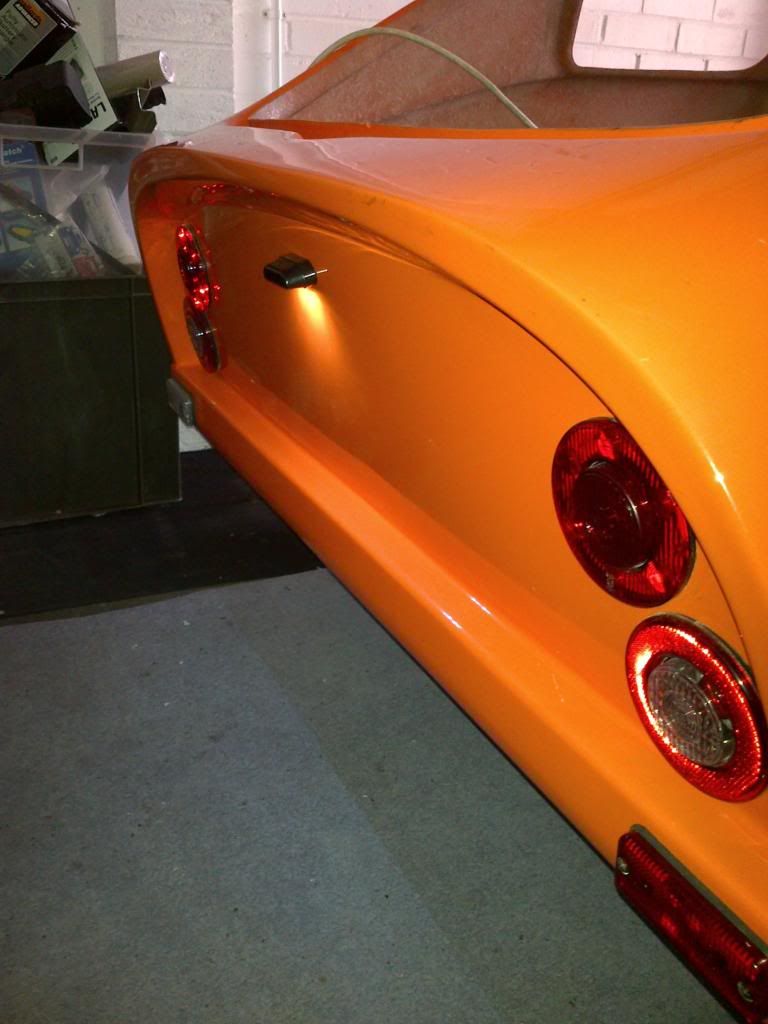
So why isn't the right hand side light (LED's) work?
Side lights on, only the front right side light works:
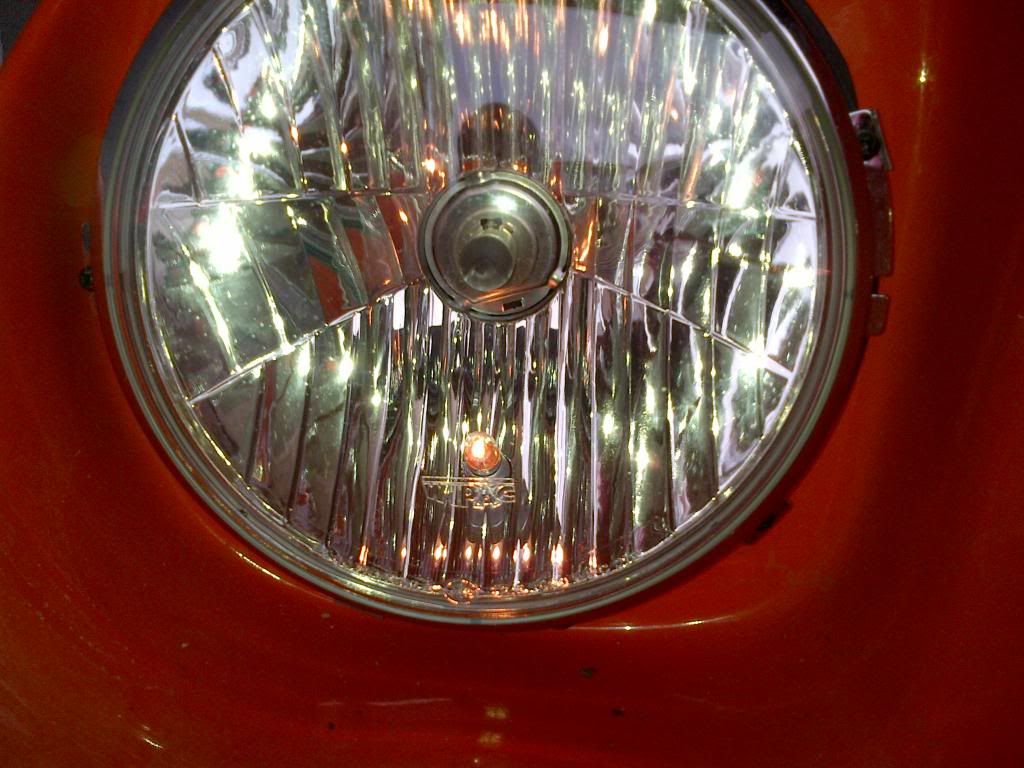
Switching to headlights, the front right side light goes out, and the brake lights at the rear come on:

Now, when I connected up the battery, the dashboard fog light switch was illuminated in the off position. With the switch in the headlight on position, the fog light illuminates, but the switch goes off:
I've swapped the fog switch wires around (I don't think it makes any difference in the case of the dash switches) with no effect.
And the heater has a strange effect too - being posh I have the two speed fan. The first speed has no effect, the second speed sets the fan away, but also has the effect the same as switching the headlight switch to the headlight position i.e. LHR tail light and brake lights on!
Bloody electrics > |
|
|
|
| |
Reply: 294 - 599 |
|
|
| Bent Larsen |
| Posted on: April 6th, 2014, 19:47:27 |
|
|
Medium Member


Location: Denmark
Posts: 126
|
|
Seems like something needs grounding 
Bent |
|
|
|
| |
Reply: 295 - 599 |
|
|
| Graham Bichard |
| Posted on: May 3rd, 2014, 19:48:02 |
|
|
Maximum Member2
Posts: 751
|
|
This has been keeping me busy of late:
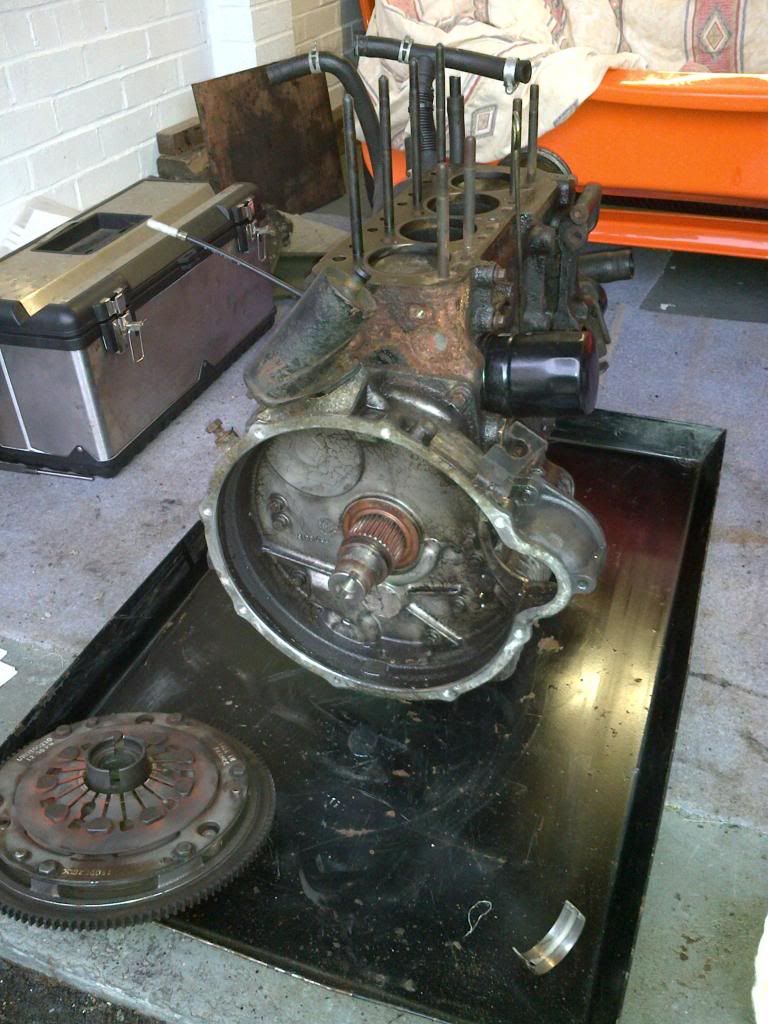
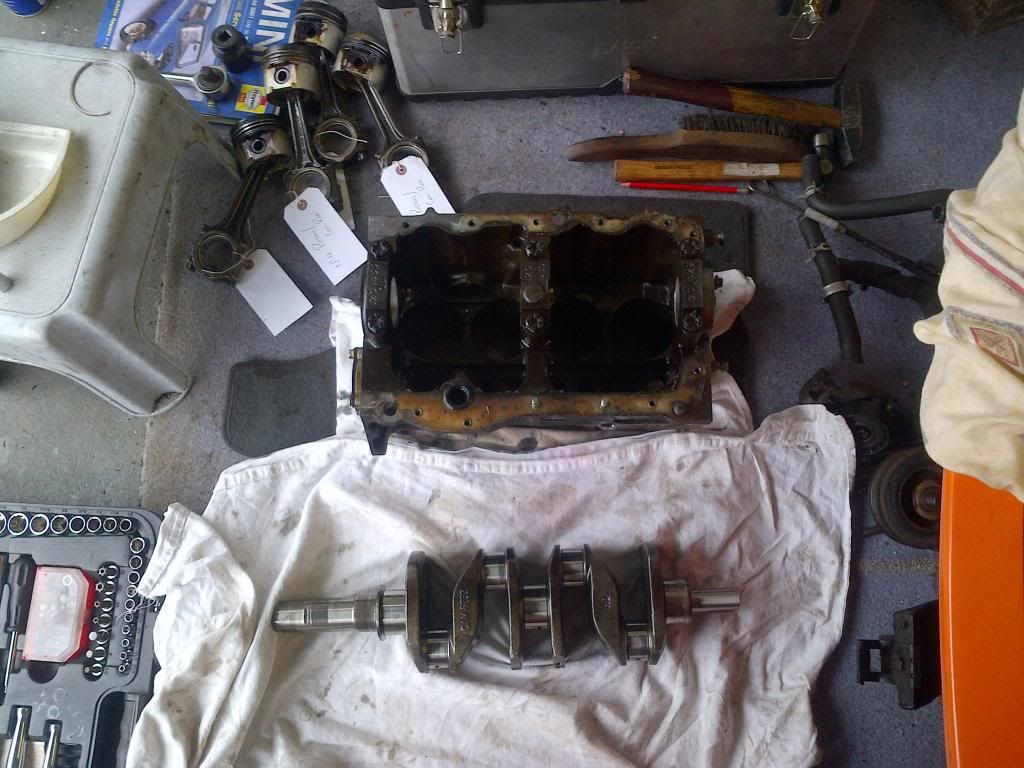
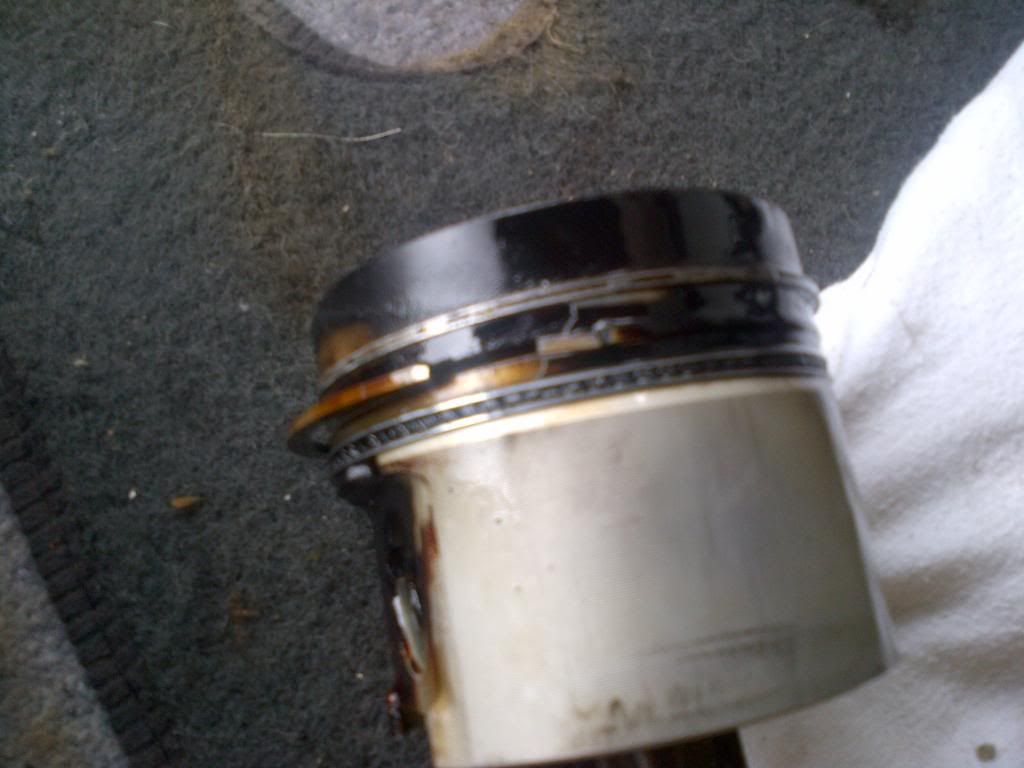
Unfortunately from this:
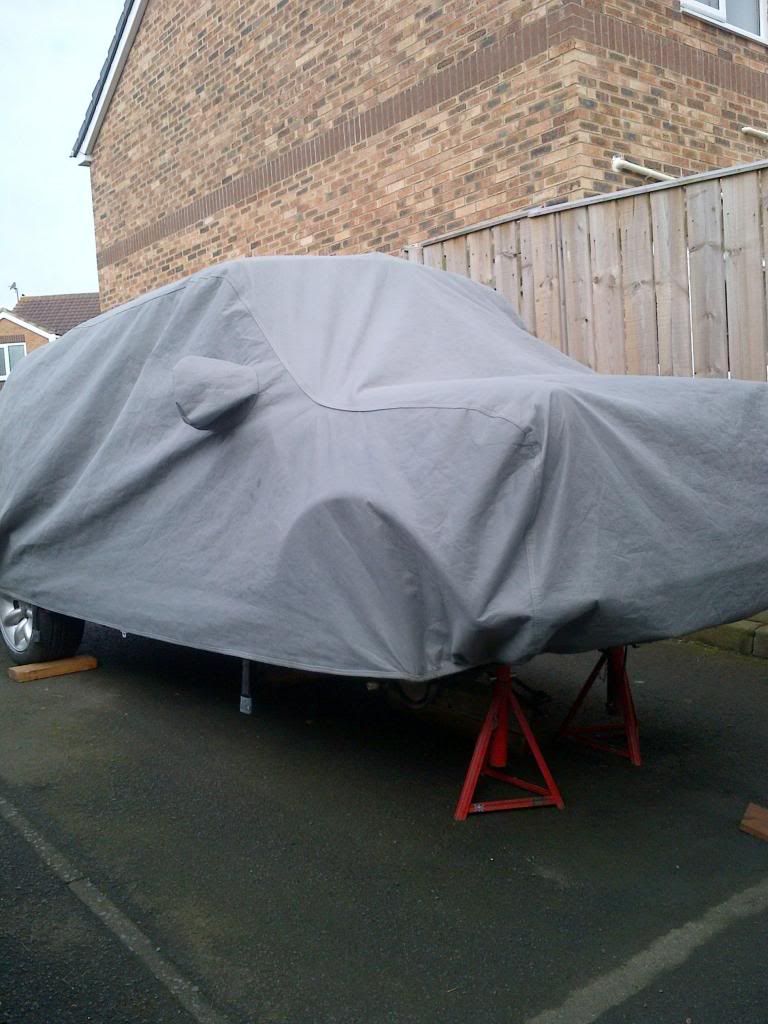
not the Marcos, so no progress on that
All those building, keep the updates coming - gives me something to look forward to! |
|
|
|
| |
Reply: 296 - 599 |
|
|
| Joost van Dien |
| Posted on: May 8th, 2014, 10:48:44 |
|
|
Big Member

Drive it as much as possible!
Location: Kloosterzande, The Netherlands
Posts: 293
Reputation: 0 (tot: ) |
|
I had the same light problem with my yellow one when doing the wiring. The ground was not good. The wire was not good connected with its plug or the ground was not good at the point were a few cables came together. Try running a wire direct from the battery to the earth of your LED light.
Good luck |
|
|
|
 |
Reply: 297 - 599 |
|
|
| Graham Bichard |
| Posted on: August 25th, 2014, 13:44:01 |
|
|
Maximum Member2
Posts: 751
|
|
Well, I've got the engine back in the mini, so have been able to spend a little bit of time back in the garage on the MM (shamed by all the progress made by Steve!).
I've got a problem that I'm hoping someone on here can help with.
I've now got front side lights, dipped and main beam. I've got rear tail lights, brake lights and a rear fog light. But I have no indicators. I did think with the fronts being LEDs and the rears being normal bulbs it would be like having a blown bulb i.e. they would flash at double speed. But nothing! I have heard you can get LED compatible relays which might be a solution (and how do I test the standard relay for operation? Could it be the column stalk at fault - how do I test that?
Also a question regarding the windscreen wiper/motor.
I connected this up, ignition on, put the wiper stalk to on. Nothing, in any position. I took the motor and drive out and noticed the motor was hot. I'm guessing the bend in the pipe that the drive goes into is too tight, as the spindles are quite easy to turn (without the drive shaft in).
But when I connected the motor/drive without the drive being in the pipe I have intermittent wipe (low speed) and low speed but as soon as I turn the switch to hi-speed, or try to use the flick wipe (also operates at hi-speed) the fuse in the main fuse block blows.
Is this hi-speed controlled within the motor assembly? Have I fried something inside and will need to need to replace the motor?
While I'm on here asking questions, to test the reverse light, if I bridge the two pins on the white plug which connects to the reverse switch with a piece of wire, should the reverse light illuminate?
Thanks. |
Last modified August 25th, 2014, 13:45:05 by Graham Bichard |
|
|
|
| |
Reply: 298 - 599 |
|
|
| Steve_Schmidt |
| Posted on: August 26th, 2014, 08:54:57 |
|
|
Medium Member

Location: Gippsland, Victoria, Australia
Posts: 167
|
|
Take your time mate, don't feel pressured into finishing it off by other builds that move along faster - it'll all come together in good time.
I don't know anything about LED lights as indicators or anything else  , but if you disconnect the LEDs and attach temporarily some normal globe holders and globes you should be able to determine if the indicator stalk or flasher can is at fault. , but if you disconnect the LEDs and attach temporarily some normal globe holders and globes you should be able to determine if the indicator stalk or flasher can is at fault.
With the wipers - if the motor works at low speed, but shorts out at high speed, I'd be looking at the switch rather than the motor.
Connecting the reversing light switch wires together (bridging) should complete the circuit and turn the lights on. Check that one of the wires goes to the fuse box or another power supply whilst the other goes to the lights.
Love reading about your build, keep plugging away and keep us posted.
|
Steve (MM 7056) Downunder
http://www.mm7056.wordpress.com |
|
 Logged Logged |
|
|
| |
Reply: 299 - 599 |
|
|
Pages: « ... 10, 11, 12, 13, 14, 15, 16, 17, 18, 19, 20, 21, 22, 23, 24, 25, 26, 27, 28, 29, 30 ... » : All |
|
|
| |
| Forum Rules |
You may not post new threads
You may not post replies
You may not post polls
You may not post attachments
|
HTML is on
Blah Code is on
Smilies are on
|
|
|
|


 Mini Marcos Forum > General Boards > Mini Marcos > Right - join Part A to Part B etc, etc, etc


