|
Pages: « 1, 2, 3, 4, 5, 6, 7, 8, 9, 10, 11, 12, 13, 14, 15, 16, 17, 18, 19, 20, 21 ... » : All |
   |
|
 Author Author |
 Right - join Part A to Part B etc, etc, etc (currently 14,510 views) Right - join Part A to Part B etc, etc, etc (currently 14,510 views) |
| Gert-Jan Westerveld |
| Posted on: October 1st, 2011, 20:30:41 |
  |
|
Medium Member


Location: The middle of Holland.
Posts: 164
|
|
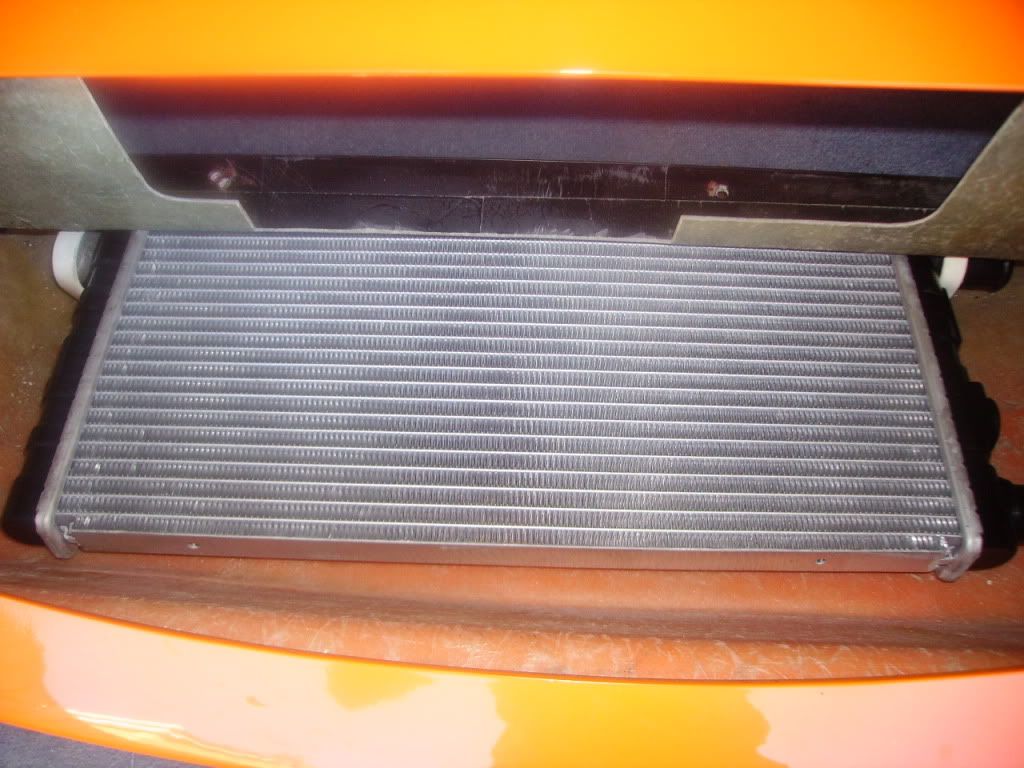
Hello I have a (gril) to protekt the core.
hope you can use the picture.
 |
Rebuild engine 1312CC .    |
Last modified October 1st, 2011, 20:35:03 by Gert-Jan Westerveld |
|
|
|
 |
Reply: 120 - 599 |
|
 |
| Neil KilBane |
| Posted on: October 1st, 2011, 21:47:11 |
|
|
Maximum Member2


just a little fine tuning left to do.
Location: Newtown Forbes, Ireland
Posts: 1,420
Reputation: 0 (tot: ) |
|
|
|
|
| |
Reply: 121 - 599 |
|
|
| admin |
| Posted on: October 1st, 2011, 22:25:05 |
|
|
 Administrator Administrator


Location: Maidenhead, UK
Posts: 2,380
Reputation: 1 (tot: 1) |
|
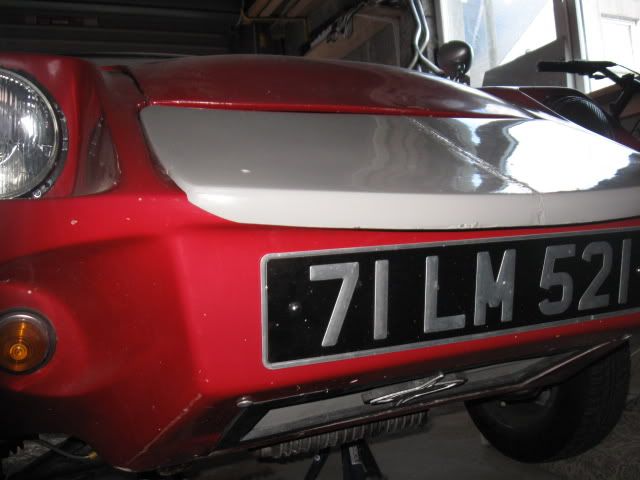
You don't need to drill holes in the number plate unless it's an old style ally one with plastic numbers and letters. Just use mounting tape. I stick one strip right along the top of the plate and four vertical strips down the sides and at the 1/3 and 2/3 points. That prevents any water getting trapped behind the plate.
You don't need to bother about the bleed point as long as the top pipe goes upwards from the rad. Any air will collect in the thermostat housing so you need the type with a take-off for the expansion tank or at least the one with the plastic plug on top so you can bleed it. |
|
|
|
 |
Reply: 122 - 599 |
|
|
| David_Farmer |
| Posted on: October 4th, 2011, 21:24:27 |
|
|
Minimum Member


Location: Staines
Posts: 89
|
|
My Marcos did have a protective grill, it is now binned as it was in a poor state. I was going to check out the ally panels that B&Q supply, as a replacement. You can see their
range on their website in:
Build -Building Materials -Materials -Metal Sheet Material -Aluminium Panel
Could be a possible solution..? |
Last modified October 4th, 2011, 21:25:14 by David_Farmer |
|
|
|
| |
Reply: 123 - 599 |
|
|
| Neil KilBane |
| Posted on: October 4th, 2011, 22:03:55 |
|
|
Maximum Member2
just a little fine tuning left to do.
Location: Newtown Forbes, Ireland
Posts: 1,420
Reputation: 0 (tot: ) |
|
I just used the mesh you get for building up fibreglass
 |
|
|
|
|
| |
Reply: 124 - 599 |
|
|
| Graham Bichard |
| Posted on: October 15th, 2011, 17:50:46 |
|
|
Maximum Member2

Posts: 751
|
|
|
|
|
| |
Reply: 125 - 599 |
|
|
| Graham Bichard |
| Posted on: October 22nd, 2011, 16:26:25 |
|
|
Maximum Member2
Posts: 751
|
|
I received this through the post this week, from Dave Shreeve of the Mini Cooper Register:
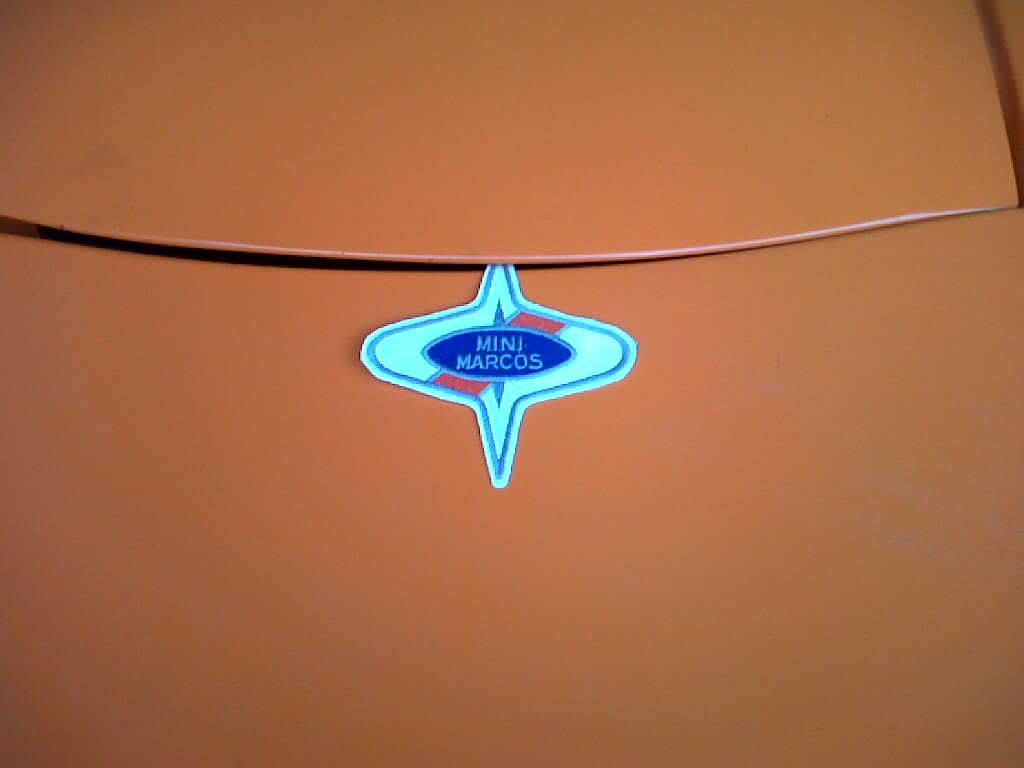
Were these sew on badges produced by the club? Dave's just move dhis 1800 on and found this when clearing out - it made me smile opening up the envelope  |
|
|
|
| |
Reply: 126 - 599 |
|
|
| Neil KilBane |
| Posted on: October 22nd, 2011, 20:41:37 |
|
|
Maximum Member2
just a little fine tuning left to do.
Location: Newtown Forbes, Ireland
Posts: 1,420
Reputation: 0 (tot: ) |
|
|
|
|
| |
Reply: 127 - 599 |
|
|
| Graham Bichard |
| Posted on: December 3rd, 2011, 21:43:03 |
|
|
Maximum Member2
Posts: 751
|
|
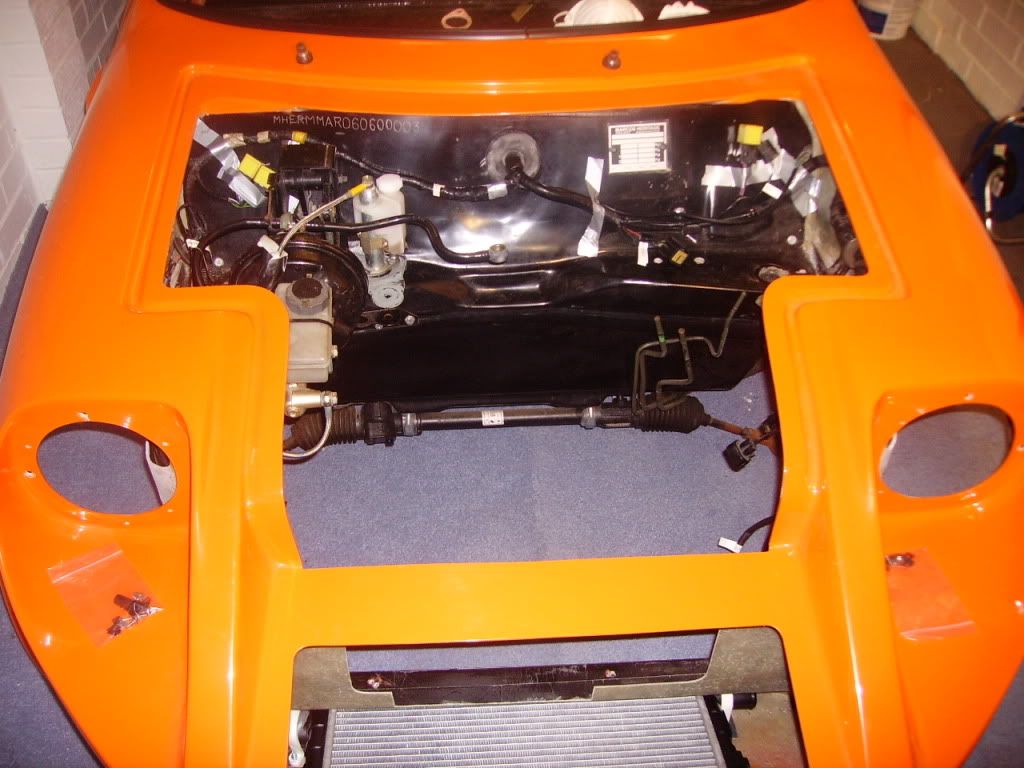
Right decision time! I've managed to get back in the garage, offered up the loom using that existing centre hole and taping the relays and the like in place (as per the MPi), and its now time to commit to drilling holes.
Now I don't really fancy stripping down the loom (electrics aren't really my thing!), and I'm not convinced there's enough 'slack' to route the the loom through one side if I don't, so it looks like I will be using this position.
So, how do I make this look neat:
  |
|
|
|
| |
Reply: 128 - 599 |
|
|
| Neil KilBane |
| Posted on: December 4th, 2011, 10:28:17 |
|
|
Maximum Member2
just a little fine tuning left to do.
Location: Newtown Forbes, Ireland
Posts: 1,420
Reputation: 0 (tot: ) |
|
| Could you not run the loom the other side of the dash, fit the relays and stuff inside and them you only need to come through the bulkhead on the left and right for the wipers and the starter/lights/fan. |
|
|
|
|
| |
Reply: 129 - 599 |
|
|
| admin |
| Posted on: December 4th, 2011, 11:57:18 |
|
|
Administrator
Location: Maidenhead, UK
Posts: 2,380
Reputation: 1 (tot: 1) |
|
I'd go along with Neil. It doesn't look like there's much room for the carbs and air filters if you have the loom coming through the middle of the bulkhead. If you bring the two branches of the loom through the top corners of the bulkhead you can tuck it under the bonnet gutter. You may need to add extra wiring e.g. for an electric radiator fan and you'll proabably find a few places where you need to extend the wires - certainly for the rear lights. The headlamps are set further back than on a Mini so you may need to re-route the wiring for those. You may also have to add earth wires for equipment mounted on the fibreglass that would normally earth through the shell e.g. starter solenoid if used.
When I've built or rewired cars I've stripped the loom down and reassembeld it as required. I use a Lucas fuse box that sits on the bulkhead with the terminals on the back, so the wiring is under the scuttle. I ran the wiring for the lights, horns, fan etc under the wings on each side. You could use the black spiral conduit which makes it easy to update the wiring when necessary.
Is that the brake line on the right next to the two fuel lines? |
|
|
|
| |
Reply: 130 - 599 |
|
|
| Graham Bichard |
| Posted on: December 4th, 2011, 20:31:56 |
|
|
Maximum Member2
Posts: 751
|
|
Neil, I like the idea of running the loom on the interior side of the bulkhead. There is a bit of wiring in there already:
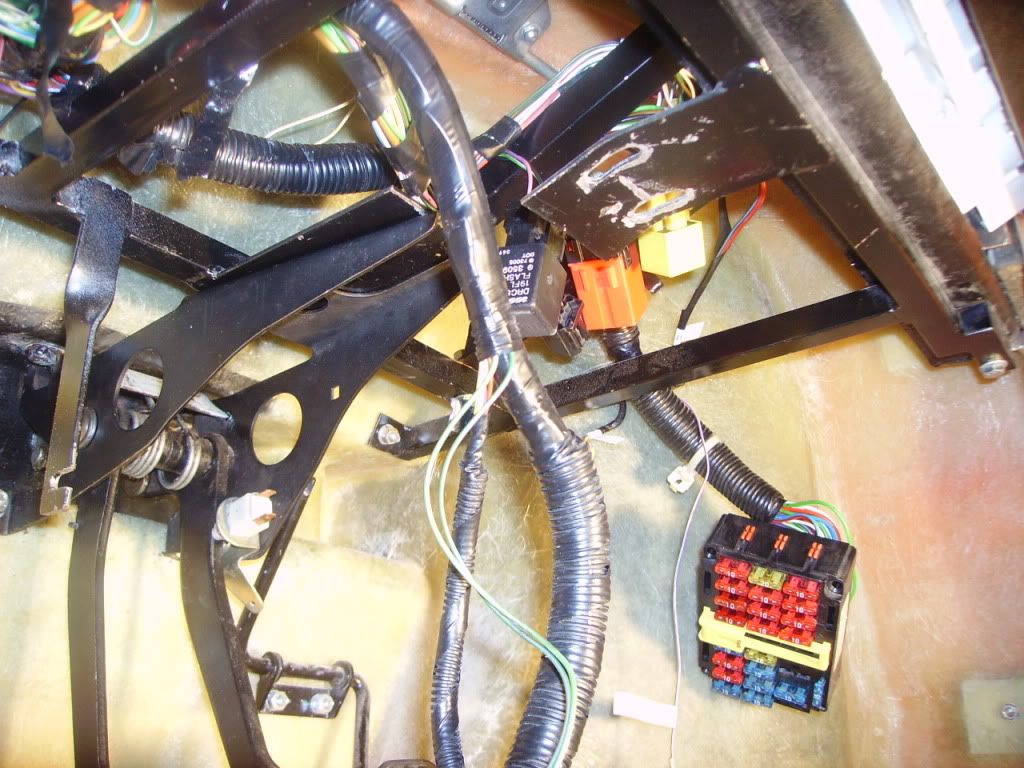
There's already relays on that side too, as well as the large fuse box etc. And there still the alarm modules to go there as well.
Richard, there's a seperate rear section to the loom for the rear lights, rear demister, fuel pump and the like, which I haven't offered up yet (one stage at a time!) and I will need to extend the cable to the fan, the brake master cylinder and the like. And I agree - it does look as if it'll be a bit tight:
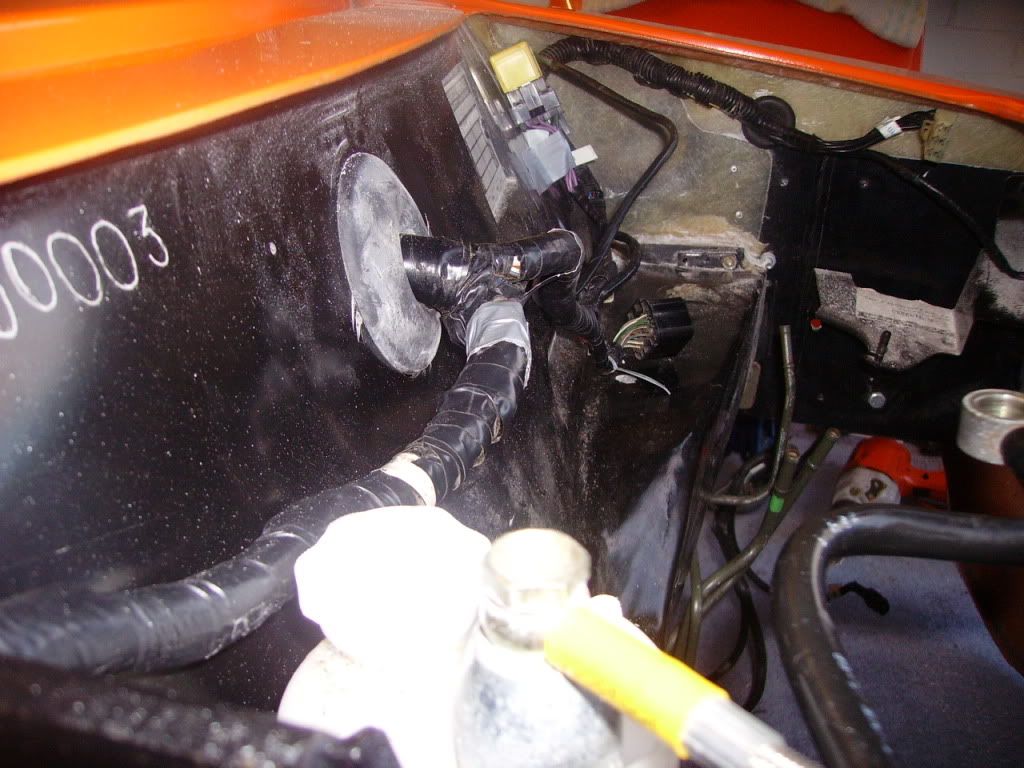
I may have stumbled across another solution - when looking at the 'give' in the cabling, I pushed the two main cables up, sitting under the slight hood at the centre of the bonnet opening. Now, while the 'hood' diminishes towards the outer edges of the engine compartment, it sat very comfortably in that position (above the chassis plate). I'll mock it up and let you see it before I go drilling more bulkhead holes! |
Last modified December 4th, 2011, 20:33:40 by Graham Bichard |
|
|
|
| |
Reply: 131 - 599 |
|
|
| Olly Lewis |
| Posted on: December 5th, 2011, 13:05:50 |
|
|
Medium Member
Posts: 194
|
|
Hello All,
I see no reason as to why the loom can't come through into the engine compartment apart from making the bulkhead look less busy. And, the bulkhead has more clearance than usual around where an HIF carb would foul!?
Also, to make the loom follow a better path (inside or out) simply remove the insulation tape from the loom between the intersections and reposition in the desired path, then re-tape to form that shape. I'd also put rubber protected "P" clips to position the loom. If you have to lengthen some wires just cut and solder in the required amount and heat shrink the joint. Be careful not to put too much heat into the wire when soldering as this will make the copper become brittle and could crack over time. hope that helps
Olly |
|
|
|
| |
Reply: 132 - 599 |
|
|
| Neil KilBane |
| Posted on: December 5th, 2011, 17:29:11 |
|
|
Maximum Member2
just a little fine tuning left to do.
Location: Newtown Forbes, Ireland
Posts: 1,420
Reputation: 0 (tot: ) |
|
“ |
Quoted from Olly Lewis, posted December 5th, 2011, 13:05:50 at here |
” |
And, the bulkhead has more clearance than usual around where an HIF carb would foul!?
|
|
Judging by the fuse box and twin fuel lines I'd say it's going to be injection of some sort.
|
|
|
|
|
| |
Reply: 133 - 599 |
|
|
| Olly Lewis |
| Posted on: December 6th, 2011, 11:04:19 |
|
|
Medium Member
Posts: 194
|
|
GOOD POINT NEIL  |
|
|
|
| |
Reply: 134 - 599 |
|
|
Pages: « 1, 2, 3, 4, 5, 6, 7, 8, 9, 10, 11, 12, 13, 14, 15, 16, 17, 18, 19, 20, 21 ... » : All |
|
|
| |
| Forum Rules |
You may not post new threads
You may not post replies
You may not post polls
You may not post attachments
|
HTML is on
Blah Code is on
Smilies are on
|
|
|
|


 Mini Marcos Forum > General Boards > Mini Marcos > Right - join Part A to Part B etc, etc, etc
 Logged